Take action with
Sense Explorers
Take action with
The toolkit invites anyone aged 8+ (including those young at heart!) to gather data about problems in their neighbourhood - such as air pollution or speeding traffic - and come up with ideas to make it a better place. Using their five senses, and some interactive digital tools, young people learn that their neighbourhood is worth looking after - and they have the power to make it better.
Young people will inherit the world we create, but we aren't giving them the tools they need to make our future cities cleaner, healthier and more liveable. Sense Explorers puts them in charge of their own future, by allowing them to gather evidence and make a case for improving their immediate environment - their local neighbourhood. The activities and resources allow young people to uncover whether the air is healthy to breathe, cars are going too fast or public spaces should be cleaned up - and design their own solutions to these problems.
The toolkit can be used by anyone who wants to involve young people in learning about the environment and making it better, including teachers, youth workers, planners, architects, charities and action groups. It's designed for anyone aged 8+ and completely free to use without any restrictions. The activities can be adapted for any project of your choosing.
Sense Explorers comes in four parts: Explore, React, Design and Influence. First, collect data using your own five senses and some cool digital technology - including a handheld, low-cost digital tool that detects air pollution, dust and noise. Second, think about what this data tells you about your neighbourhood. Third, come up with campaigns and solutions for these problems. Finally, present your ideas to decision makers, to generate impact in your local area.
The toolkit overlaps with school curriculums, youth participation projects and activist agendas, and the activities have been tried and tested in lots of different settings.
We'd love to know how you end up using these tools - please get in touch and let us know by using the details below!

There are a few ways you might use this toolkit.
Find out more about these sessions, and how to run your own, by clicking on the tabs below.
This involves going to a place and making some observations using your senses and some digital tools. You can then use these observations as evidence to think about what’s good and bad about the place, and to change things for the better.
The key activity is a 'sensing mission’, where you follow a walking route to places that everybody knows well and collect evidence at the places you visit. At the place itself, answer some simple but powerful questions - what can you see, hear, smell and feel? Then, answer the questions again, but this time using digital technologies as your senses. What can these technologies “see”, “hear”, “smell” and “feel”? These technologies could include our Sensor Pi, some air quality or traffic speed measuring tools, cameras, voice recorders or anything else that you can think of. The comparison between technology and your own senses will help you to think carefully about the place and verify the data that you are collecting through each method.
Key activity: The sensing mission
You will need
This involves thinking about the evidence you just collected and what it means for your community.
The key activities are looking at the evidence, and relating it back to your walking route. For numbers collected through our Sensor Pi, the simplest way to present it is through graphs. Gather all of the numbers together and make a line graph, which will reveal the highest and lowest readings taken along the route. Alternatively, you could use data from other sources online - for example, air pollution data from the Urban Observatory or DEFRA - and relate it back to your readings from the Sensor Pi. Afterwards, get everyone thinking about what your data means for your community through a fun mapping activity. Print out a big map of the walking route (preferably A0 or A1 size), and work in teams to pinpoint and discuss good, bad and uncertain points you visited on the walking route. You can use coloured drawing pins, markers, flags or whatever you like!
Key activity: Pinning down the issues (30-45 mins)
You will need
Run wild with your imagination and come up with some ideas to help solve problems in your community.
The key activity is a design ‘jam’. This is a fun craft session where you think about a problem that needs solving in your community, and bring your ideas and solutions to life through drawing, writing, making or acting. Set out a clear design challenge at the start - but what you come up with and how you do it is up to you. You could create a persuasive campaign, an idea to improve a street, a short play, or anything else. If you’ve already ran Explore and React, you can use the evidence and maps from these to inform your designs. If not, you can draw on your own knowledge of your community. While the design jam works best when it’s led by teams coming up with their own ideas, you could also frame it around a specific issue - for example, what’s your idea for reducing air pollution? Provide as many materials as you are able to, and set a strict time limit to make sure everyone has realistic goals!
Key activity: Design jam
You will need
Celebrate your design achievements and invite important local people to come and see your great work - all while influencing decisions in your community!
The two key activities are an ideas carousel, and a short visit from local politicians and decision-makers. The first allows you to influence each other, by showcasing everyone’s ideas and gathering peer-to-peer feedback on them. The second allows you to influence decisions made in the real world, by drawing attention to issues in your community and showing decision-makers that change is possible. For the carousel, each team should set up their own display table - think like a school science fair or open day. Then, teams can rotate around each table in turn, looking at the ideas on display and writing some constructive feedback on flipchart paper. This will give you the chance to debate, interrogate and strengthen your ideas with everyone's input.
Spend the remaining time you have on the visit. To make this happen, reach out to a couple of people in your local council who are in positions of power to improve your community - for example, a local councillor, or somebody in charge of transport. Then, invite them along to your session, show them your ideas and get a discussion going about how you could put your ideas into practice.
Key activity: Ideas carousel (up to 1 hour)
You will need
Run a shorter, snappier version of Sense Explorers in just 2 hours! To do this, simply pick from a couple of the activities in the toolkit to run your project in a single session.
Suggested running order for a Bitesize version of Sense Explorers
It's a tool we've designed so that young people could easily pick it up and collect data about the environment in a fun, easy and interactive way. It’s made from a Raspberry Pi, a powerful and affordable microcomputer used widely in schools. Our Sensor Pi works by reading electronic responses provided by different components to give rough measurements for air quality, dust and noise. To plug in our different components, we use an electronics board - called the GrovePi - into the Raspberry Pi. Plugging our components into the GrovePi, we then wrote some computer code on the Raspberry Pi so it knows what to do with the components.
To use it, you simply turn the dial to whatever you want to sense and press the button. The built-in LED screen then lights up and displays a rough number of particles in the air or a figure for noise or air quality out of 1000. The device doesn’t store data, so you need to write this number down quick! It’s powered by a rechargeable battery and it’s in a small clear box with all its components available to see and touch. This means that anyone using it can get an idea about what’s going on inside!
The components we used are low-cost and give an indication of the quality of the environment. We think the Sensor Pi is great for comparing readings against other devices and suggesting about where might be more noisy, dusty or polluted. It also gets us thinking about how technology compares with our own five senses and the value of technology for making places better. Best of all, the Sensor Pi is fun, interactive and educational!
We’ve built a set of prototype Sensor Pi kits to use in Sense Explorers sessions that we’d love to share with you. If you’re interested in finding out more - or even trying one out for yourself - please get in touch!

Read about the work we've done in schools in our latest article, published in The Conversation! 🙌
In Summer 2019, Open Lab at Newcastle University ran four workshops with Seven Stories, the National Centre for Children's Books. These workshops were open to all 8 years and above. At Seven Stories, we ran the Bitesize version of Sense Explorers, and got local children to create ideas for making this small corner of Newcastle an even better place.
You can watch our promo video for the workshops below. You can also read about what happened at Seven Stories in the September edition of the Ouseburn Trust newsletter, the local publication for Ouseburn in Newcastle. Click here to download a digital version of the newsletter.

Maybe you’re a teacher or a youth worker who would like to run these activities with a group? Or maybe you're a young person, who wants to run a session with some friends? Or maybe you're a local activist and you want to get the community involved in making the environment better? These are all great reasons to get involved!
The digital gadgets, like the Sensor Pi, can add to the experience of running Sense Explorers, but they aren’t mandatory. If you do want the experience of using these tools, they have been made available as part of this project, so please get in touch if you want to find out more.
Ask us anything or simply say hello by clicking the big green button below. We'd particularly love to know if you end up using these tools, and how you've found using them. Or, you can contact us by carrier pigeon at: Open Lab, Urban Sciences Building, Newcastle upon Tyne, NE4 5TG.
The toolkit comes from research being done by PhD students in Open Lab, a computing research lab based at Newcastle University, in the wonderful city of Newcastle upon Tyne. Now it's time to meet the PhD researchers that are making it all happen:
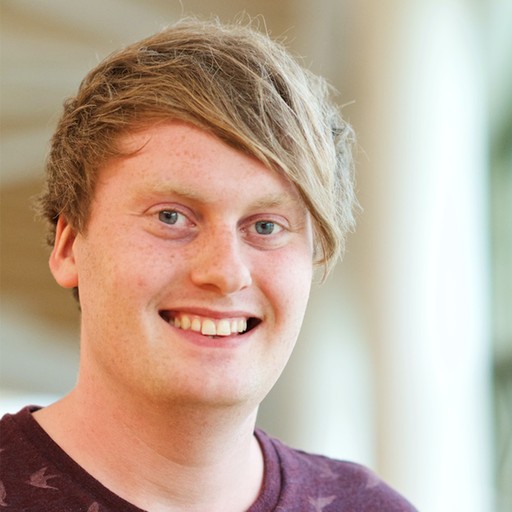
The Planner
Responsible for planning the Sense Explorers project (and being a city planner, when he has time)
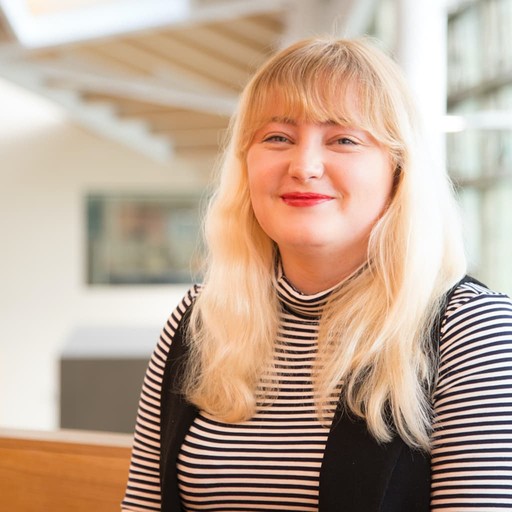
The Data Scientist
Makes complicated environmental data and helps us to understand what it means
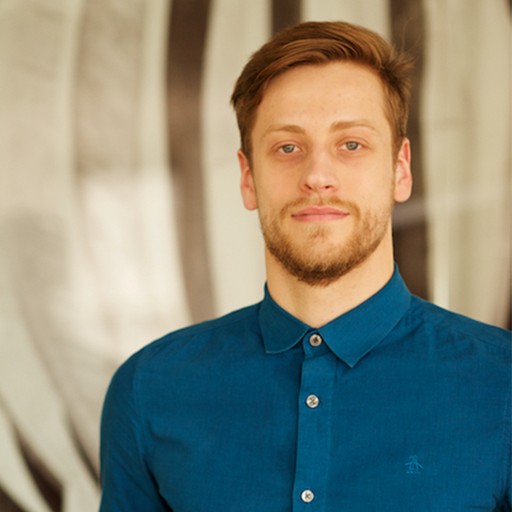
The Technical Genius
Builds the Sensor Pi gadgets for the Sense Explorers toolkit and the website